
Guide · 6 min read
How to clean and care for a shower kit so it keeps its finish for years
A molded shower kit has no grout lines to scrub, which is half the reason people choose one. The other half of keeping it looking new is not damaging the surface while you clean it. Here is the routine, by material.
Published October 9, 2026 · Best Shower Kit
Most shower kits are made from one of three surfaces: acrylic, gelcoat over fiberglass, or solid surface (a cast mineral-and-resin material). All three are non-porous, so dirt sits on top rather than soaking in. That makes them easy to clean, as long as you use products that do not scratch or soften the surface.
The first rule applies to every kit: check the care sheet that came with it. Manufacturers list the cleaners they approve, and using something they prohibit can affect the warranty.
After every shower: thirty seconds
The cheapest maintenance is the habit that stops buildup before it starts.
- Squeegee or wipe the walls. Removing water droplets prevents most hard-water spots and soap film.
- Leave the door or curtain open and run the bathroom fan for a while so the shower dries.
- Rinse the seat and floor if you use a bench, shower chair or bath oils, which leave a slippery film.
Weekly: the right cleaner and the right cloth
Use a liquid or spray bathroom cleaner labelled non-abrasive, a soft cloth or non-scratch sponge, and warm water. Mild dish soap works for light soap film. Spray, let it sit for a few minutes, wipe, then rinse thoroughly so no residue is left to attract dirt.
What to avoid on all three materials:
- Scouring powders, steel wool, green scrub pads and stiff brushes. They leave fine scratches that dull the finish and hold grime.
- Solvents such as acetone, nail polish remover and some paint thinners, which can damage acrylic.
- Mixing cleaners. Never combine bleach with ammonia or acid-based products.
Care by material
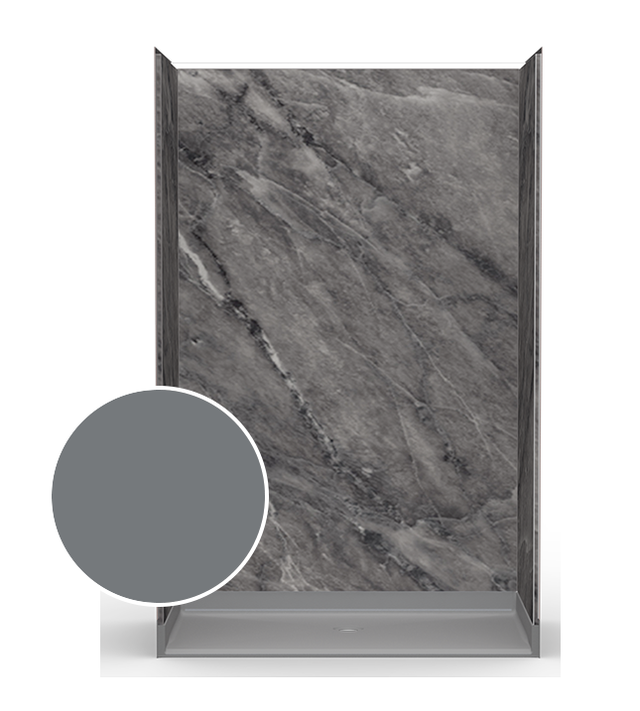
Acrylic
Acrylic is a solid sheet with color all the way through the surface layer, backed by reinforcement. It resists stains well but scratches more easily than people expect. Stick to soft cloths. Light surface scratches can often be buffed out with a polishing compound the manufacturer approves; deep damage should be assessed by the manufacturer or an installer.
Gelcoat over fiberglass
Gelcoat is a thin, hard, glossy layer over the fiberglass. Once it is scratched or worn through, it does not recover the way acrylic can. Treat it gently, rinse cleaners off completely, and if the shine fades over the years, ask the manufacturer which non-abrasive polish or cleaner-wax they recommend for wall areas (never on the floor, where wax would make it slippery).
Solid surface
Solid surface is homogeneous all the way through, so many manufacturers allow light scuffs to be removed with a mild abrasive pad on matte finishes. Glossy finishes are more delicate. This is the one material where the care sheet really matters, because the advice differs by finish.
Hard water and mildew
Mineral spots respond to a diluted white vinegar solution or a cleaner labelled safe for your surface. Apply, wait a few minutes, wipe, and rinse well. For mildew on silicone or in corners, use a mildew cleaner approved by the kit manufacturer and improve ventilation, since mildew returns wherever the shower stays damp.
Replacing a shower instead of cleaning it?
If the old surface is past saving, send the opening size and a photo. We will tell you what fits the same space.
Drains, grates and trench channels
Hair is the main cause of slow drains. Lift and clear the strainer or grate regularly. On linear and trench drains, remove the grate and wipe out the channel about once a month. Avoid pouring harsh chemical drain openers into a shower drain; a plastic drain snake or a call to a plumber is safer for the pan and the pipes.
Once a year: seals and sealant
- Silicone joints. Check where the pan meets the walls and where panels meet each other. Replace any section that is cracked, peeling or gapped. Water that gets behind a kit is far more expensive than a tube of sealant.
- Door sweeps and seals. Glass door seals and bottom sweeps wear out and are inexpensive to replace.
- Water retainers. On barrier-free showers, collapsible rubber retainers should be checked for cracking or hardening.
- Grab bars and seats. Confirm they are still tight to the wall. Any movement should be fixed by an installer before the next use.
Questions we get about shower kit care
Can I use bleach on an acrylic shower?
Occasional diluted bleach is accepted by some manufacturers for mildew, but many prefer a non-abrasive bathroom cleaner. Check the care sheet for your specific kit, never mix bleach with ammonia or acid cleaners, and rinse well afterward.
What will scratch an acrylic or gelcoat shower?
Abrasive powders, scouring pads, steel wool and stiff brushes. Solvents such as acetone and some paint thinners can also damage acrylic. Use a soft cloth or non-scratch sponge with a liquid cleaner.
How do I remove hard-water spots?
A diluted white vinegar solution, or a cleaner labelled safe for your surface, usually dissolves mineral spots. Let it sit for a few minutes, wipe with a soft cloth and rinse. Squeegeeing after each shower prevents most spots from forming.
How often should the silicone around a shower kit be replaced?
There is no fixed schedule. Inspect it every year and replace any section that is peeling, cracked, gapped or stained black with mildew that will not clean off. Damaged sealant lets water reach the wall and subfloor.
The short version
Soft cloth, non-abrasive cleaner, rinse well, keep it dry, clear the drain, check the seals once a year. A shower kit looked after that way should keep its finish for many years.
Get your quote
Replacing a shower that will not come clean?
If the old one is past saving, send the opening size and a photo. We will tell you what fits the same space and what it costs, delivered or installed.
Rough numbers and a photo are fine for a first pass. We will tell you exactly what to measure next.
Rather just talk?
1-888-779-2284A real person answers, and they know the product. No call center, no script.

Best Shower Kit is run by Aging Safely Baths, a BBB Accredited Business fitting accessible bathrooms since 2012. Click the seal to read the profile. Quotes are free, in writing, and nobody will chase you for an answer.
Tell us the room and we will tell you what fits.
Slab or joists, ground floor or upstairs, and where the drain sits. Three answers and we can price it.
1-888-779-2284